


Instructions for connecting
For connecting the boxes into a configuration it is essential to follow two simple rules. Abidance by these rules will prevent you from difficulties and bad experiences.
For users who have not used our product before, it is essential to consider the overall lay-out before commencing connecting the boxes. To do this, lay out the boxes on squared paper. This can be especially useful when combining parts with different modules together.
1) Accordant turning
|
|
|
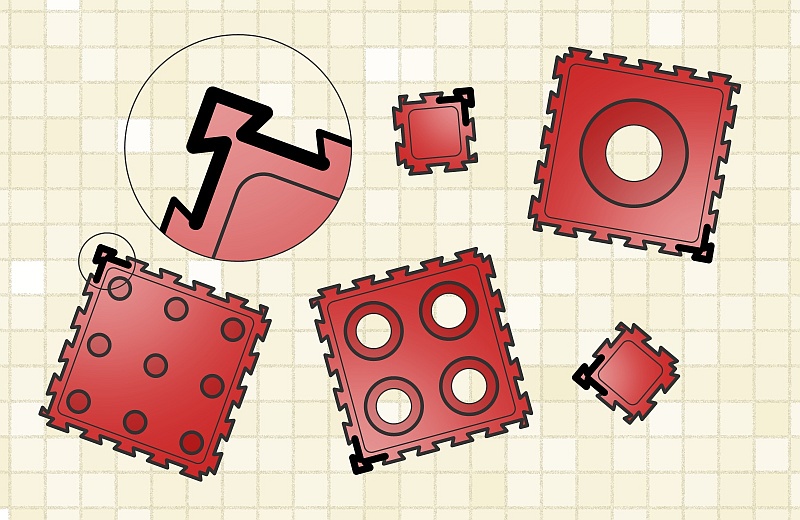
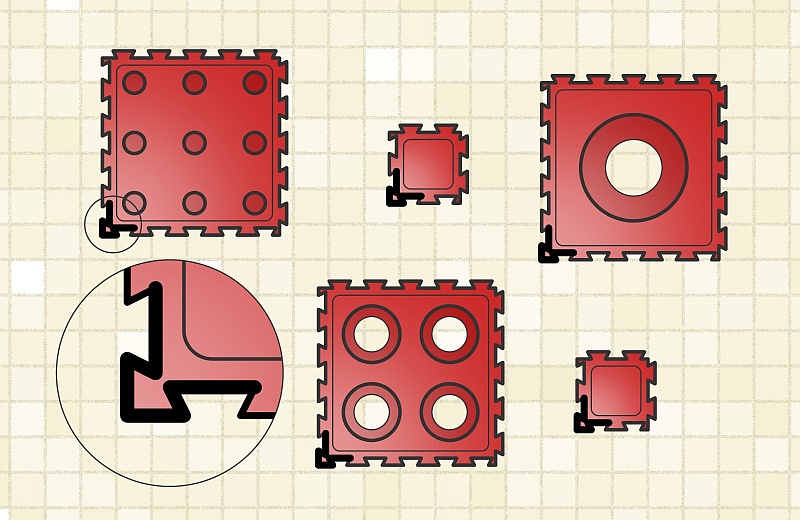
| 1. Disarranged boxes | 2. Correctly turned boxes |
Every box has four different corners. One of the corners has a shape of an arrow and is called positional corner.
Each component of the system has to be correctly turned before adding to the unit. The positional corner must point to the bottom left (nearer left) corner of the final unit (see picture 2).
2) Correct connecting order
|
|
|
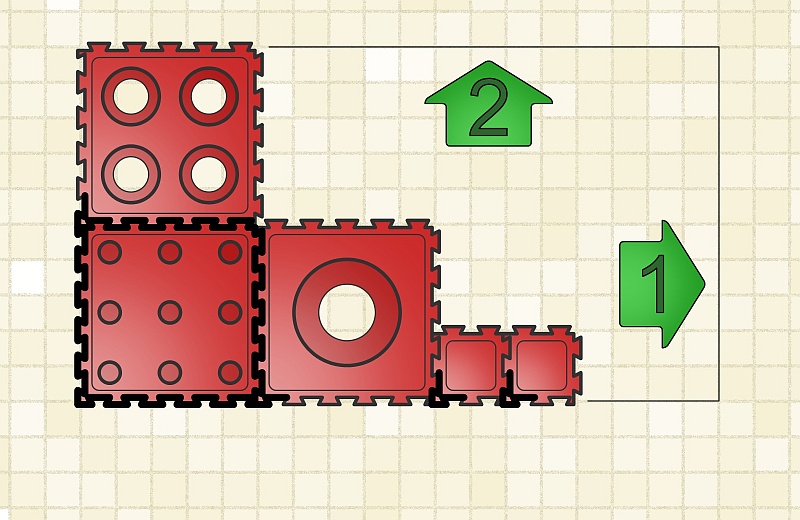
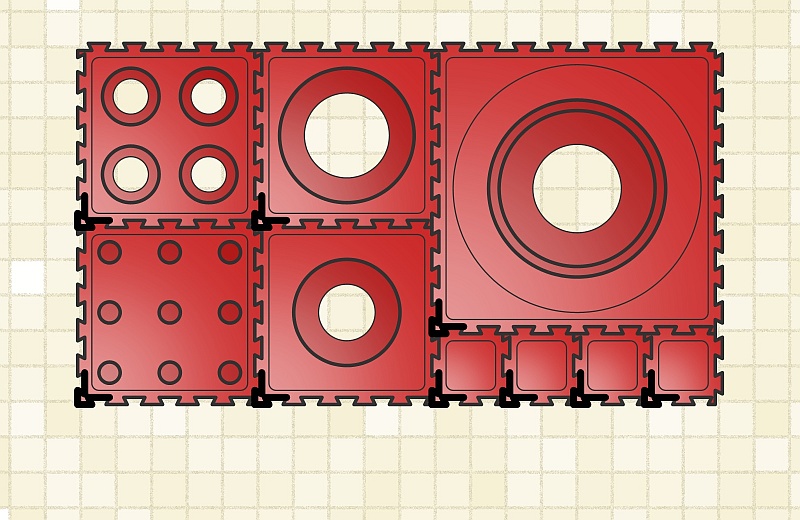
| 3. Connecting order | 4. Final unit |
When making a configuration, always connect the individual boxes to the unit first in a crosswise direction from the left to the right (direction 1).
Ensure that the crosswise line is completed before adding a next row (direction 2).
Keeping the correct connecting order will cause you start in the lower left hand (or nearer left) corner and finish in the top right (or further right) corner of the final configuration.
Attachments
- how-to-connect-boxes.pdf (579 kB) - How to connect boxes together for download